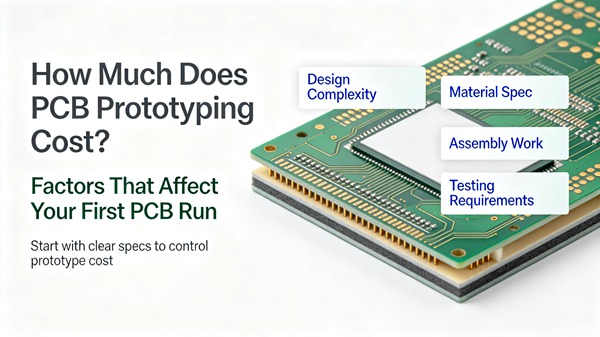
PCB prototypes are normally produced in small quantities to verify a design before moving into larger-scale production.
A prototype order may contain only:
- 5 boards
- 10 boards
- 20 boards
- 50 boards
Yet the manufacturing process still requires many of the same preparation steps used for larger production orders.
This is why the unit price of a prototype can appear surprisingly high.
A prototype PCB quotation may include costs associated with:
- Engineering preparation
- Material
- Layer count
- Drilling
- Plating
- Lamination
- Surface finish
- Electrical testing
- Tooling
- Panel utilization
- Expedited production
The important point is that prototype cost and production cost behave differently.
Trying to evaluate a five-board prototype using the same logic as a 5,000-board production order can lead to misleading conclusions.
Table of Contents
Why Are PCB Prototypes More Expensive Per Board?
The main reason is the distribution of fixed costs.
Suppose a manufacturing job has a fixed preparation cost.
With 10 boards, that cost is distributed across 10 units.
With 1,000 boards, the same cost is distributed across 1,000 units.
The unit cost therefore changes significantly even if the physical PCB itself has not changed.
A simplified model looks like this:
Prototype unit cost = fixed setup cost ÷ quantity + variable PCB cost
This is not an actual quotation formula, but it explains why low-volume orders have higher unit prices.
What Is Included in PCB Prototype Cost?
A prototype quotation can contain several different cost components.
Engineering Preparation
Before fabrication starts, manufacturing data may need to be reviewed and prepared.
This can include:
- Gerber verification
- Drill file review
- Stackup review
- Manufacturing rule checks
- Panel preparation
The amount of engineering work depends on the design.
Materials
Material cost depends on:
- PCB size
- Layer count
- Laminate
- Copper weight
- Thickness
A simple 2 layer FR-4 prototype will generally have a different material cost from a 10 layer high-speed board.
Fabrication
Fabrication includes the actual PCB manufacturing operations:
- Imaging
- Etching
- Lamination
- Drilling
- Plating
- Solder mask
- Surface finish
The more complicated the structure, the more process steps are involved.
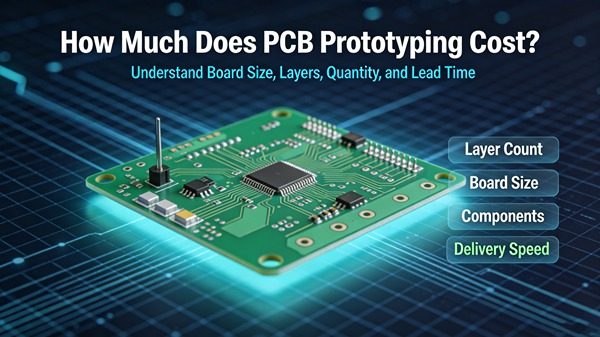
Layer Count Has a Strong Influence
A prototype does not become expensive simply because it is a prototype.
The board’s construction remains one of the main cost factors.
For example, a:
is usually simpler than a:
which is simpler than an:
and so on.
Higher layer counts require additional materials and processing.
However, reducing layer count only to save prototype cost is not always sensible.
If the prototype is intended to validate the final design, changing the PCB construction simply to obtain a lower prototype price can make the prototype less representative of the production product.
Board Size
Larger boards require more material and generally occupy more production panel area.
However, prototype pricing is also affected by how efficiently the boards can be arranged on the panel.
A small board may sometimes have a lower material cost but still have a relatively high unit price because only a few pieces are ordered.
This is why board size and quantity should be considered together.
Material Selection
Standard FR-4 is commonly used for PCB prototypes.
Depending on the application, prototypes may also require:
- High-Tg FR-4
- Low-loss material
- High-frequency laminate
- Flexible material
- Rigid-flex construction
Using the production material for the prototype is often preferable when material properties are important to the product’s behavior.
For example, a high-speed design should not necessarily be prototyped with a completely different dielectric system just because it is cheaper.
Surface Finish
Surface finish is another cost component.
Common options include:
- HASL
- Lead-free HASL
- ENIG
- OSP
- Immersion silver
For simple prototypes, HASL may be sufficient.
For fine-pitch components or BGA assembly, a flatter finish may be more appropriate.
The cheapest finish is therefore not always the best choice for prototype validation.
Quantity and Unit Price
Prototype quantity has an interesting cost relationship.
Ordering too few boards can produce a high unit price.
Increasing the quantity may reduce the unit price because fixed setup costs are spread across more boards.
But this does not mean that ordering the maximum possible quantity is the right strategy.
For an early prototype, the design may still change.
A practical development sequence can be:
Initial prototype → design correction → validation build → pilot production
This can be more economical than ordering a large prototype batch before the design has been tested.
Prototype Cost vs Production Cost
One of the most common misunderstandings is comparing prototype and production unit prices directly.
Consider:
| Stage | Typical Objective |
|---|---|
| Prototype | Verify design |
| Engineering build | Validate performance |
| Pilot production | Validate manufacturing |
| Volume production | Reduce unit cost |
Each stage has a different purpose.
A prototype is not necessarily designed to achieve the lowest possible unit cost.
Its purpose is to answer questions such as:
- Does the circuit work?
- Does the PCB fit the enclosure?
- Does the BGA assemble correctly?
- Is the impedance correct?
- Does the board survive thermal testing?
Once those questions are answered, production can focus more heavily on unit economics.
How-To: Reduce PCB Prototype Cost
Step 1: Order the Correct Quantity
Estimate how many boards are genuinely needed for:
- Engineering testing
- Assembly
- Destructive testing
- Customer samples
- Backup units
Ordering one or two extra boards may be useful.
Ordering hundreds before design validation usually is not.
Step 2: Avoid Unnecessary Special Processes
Review whether the prototype actually needs:
- Blind vias
- Buried vias
- Microvias
- Via-in-pad
- Heavy copper
- Special surface finishes
If the production design requires these features, they may still need to be included in the prototype.
The objective is to remove unnecessary features, not necessary ones.
Step 3: Use Standard Materials Where Possible
If the application does not require a specialized laminate, standard FR-4 can simplify procurement.
For high-frequency or demanding thermal designs, however, use the material required by the actual application.
Step 4: Review the Board Dimensions
If the mechanical design is not yet fixed, consider whether the outline can be optimized.
This can improve material utilization and may also simplify production later.
Step 5: Avoid Unnecessary Expedited Production
Fast-turn prototypes can be useful when a project is blocked by hardware availability.
But if the schedule allows normal production, avoiding unnecessary rush processing can reduce cost.
Lead time should therefore be treated as a design and project-management variable, not simply a purchasing parameter.
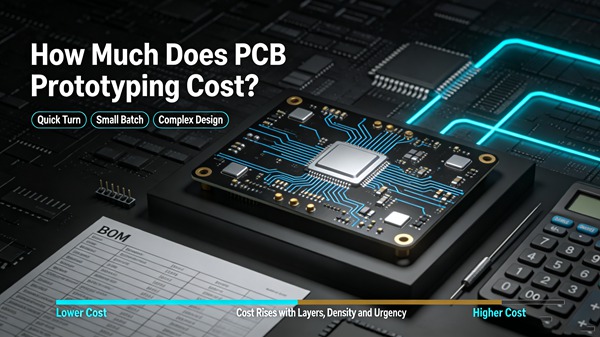
Prototype Cost for Multilayer PCBs
Multilayer prototypes deserve additional attention.
A 4 layer prototype may require:
- Multiple core and prepreg materials
- Inner-layer imaging
- Lamination
- Drilling
- Plating
An 8 layer or 10 layer prototype adds more complexity.
If the design includes HDI, the process becomes more involved again.
For comparison, see 8 Layer PCB Cost and HDI PCB Cost.
This is why prototype quotations should always specify the complete stackup rather than simply saying “multilayer PCB.”
HDI Prototype Cost
HDI prototypes can be considerably more expensive than conventional multilayer prototypes because of:
- Laser drilling
- Microvias
- Sequential lamination
- Via filling
- Fine-line processing
However, the same rule applies:
Do not remove an HDI structure if it is necessary to validate the actual production design.
A prototype that uses a completely different via structure may not accurately represent production performance.
The better question is whether every HDI feature in the design is genuinely required.
Does Prototype Quality Need to Match Production Quality?
For many technical parameters, yes.
A prototype is intended to provide useful engineering information.
If the production PCB will use:
- A specific laminate
- Controlled impedance
- A particular copper thickness
- A specific surface finish
then changing these characteristics for the prototype can make test results less representative.
There can be some flexibility in non-critical manufacturing details, but the parameters affecting electrical, thermal, mechanical, and reliability performance should remain consistent.
What Can Be Safely Optimized?
There are several areas where cost can often be reduced without changing the fundamental design.
Board Quantity
Order enough for validation without creating unnecessary inventory.
Panelization
Improve how boards are arranged for fabrication.
Standard Dimensions
Avoid unusual dimensions when the mechanical design allows flexibility.
Standard Fabrication Rules
Use practical trace width, spacing, hole sizes, and tolerances when the design permits.
Surface Finish
Choose according to assembly requirements.
Lead Time
Avoid expedited production when the schedule does not require it.
What Should Not Be Reduced Just to Save Prototype Cost?
Be careful with:
- Required dielectric properties
- Required copper thickness
- Critical impedance
- Minimum via structure
- Thermal requirements
- Mechanical tolerances
- Reliability requirements
Saving a small amount on the prototype is not useful if it prevents the engineering team from obtaining valid test results.
How Prototype Cost Changes During Product Development
The most economical strategy is usually not to treat every PCB build the same.
First Prototype
Focus on:
- Basic functionality
- Mechanical fit
- Major routing problems
Engineering Validation
Focus on:
- Electrical performance
- Thermal behavior
- Signal integrity
- Assembly
Pilot Build
Focus on:
- Manufacturing repeatability
- Yield
- Assembly process
- Testing
Volume Production
Focus on:
- Unit cost
- Panel utilization
- Production efficiency
- Supply planning
The cost priorities change as the product becomes more mature.
FAQ
A: Because fixed engineering, setup, tooling, and processing costs are spread over a small number of boards.
A: It depends on the validation plan. Consider how many are needed for assembly, electrical testing, mechanical testing, destructive testing, and backup units.
A: The unit price may decrease as quantity increases, but ordering more boards only makes sense if they are likely to be used before the design changes.
A: When material properties affect electrical, thermal, or mechanical performance, using the intended production material is generally preferable.
A: Only when the changed specification does not affect the purpose of the prototype. Critical electrical, thermal, mechanical, and reliability characteristics should remain representative of production.
Conclusion
PCB prototype cost is driven by both the physical construction of the board and the small quantity being produced.
The main factors include:
- Layer count
- Board size
- Material
- Copper weight
- Via structure
- Surface finish
- Engineering preparation
- Testing
- Quantity
- Lead time
The most effective way to reduce prototype cost is not to remove necessary specifications. It is to avoid unnecessary complexity and order an appropriate quantity at the right stage of product development.
A prototype should answer engineering questions.
If reducing the quotation prevents the prototype from accurately representing the final product, the saving is usually not worth it.
For projects moving from prototype to production, it is also useful to review the design before the next build. At TOPFAST, this type of review can help identify which prototype specifications should remain unchanged and which manufacturing details can be simplified as the project moves toward volume production.
 EN
EN  PT
PT  AR
AR  DE
DE  FR
FR  ES
ES