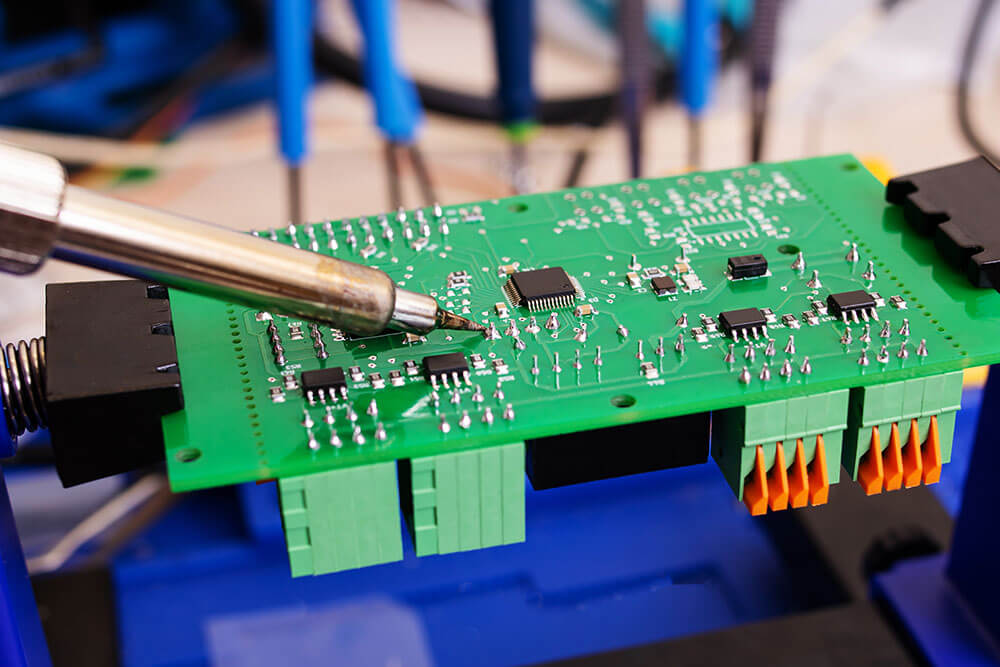
Prototype circuit boards are an essential part of the design process used to validate the functionality of a number of products. Commonly used in the fields of electronics engineering, robotics, and even the automotive industry, these circuit boards are incredibly useful when it comes to testing and refining a product before it goes to market. In this article, we will go over the process of designing a reliable prototype circuit board, from design and planning to fabrication and troubleshooting. We will also take a look at how to select reliable components for your board, and how to avoid the common mistakes when building a pcb. Finally, we will provide some tips for troubleshooting and concluding the process.
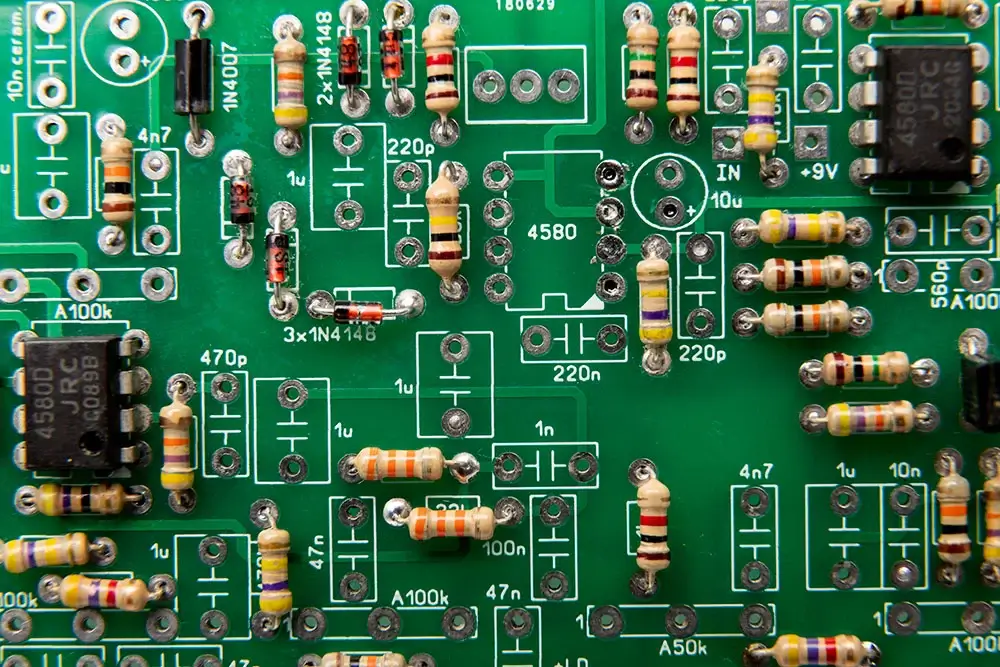
Table of Contents
Design and Planning
The first stage in designing a reliable prototype circuit board is the design and planning stage. Here, the designers will consider factors such as circuit complexity, component selection, layout, cost, size constraints, and timing requirements. These considerations should inform the high-level schematic design, which should be captured in a schematic diagram or part list. Designers should also take care to allocate suitable space on the board for components and connectors, ensuring that the board has sufficient space for adequate airflow and to ensure it meets any applicable safety standards. Finally, the power supply should be tested before any components are soldered onto the board. By taking care to consider these factors, designers can ensure that the prototype circuit board is reliable and fit for purpose.
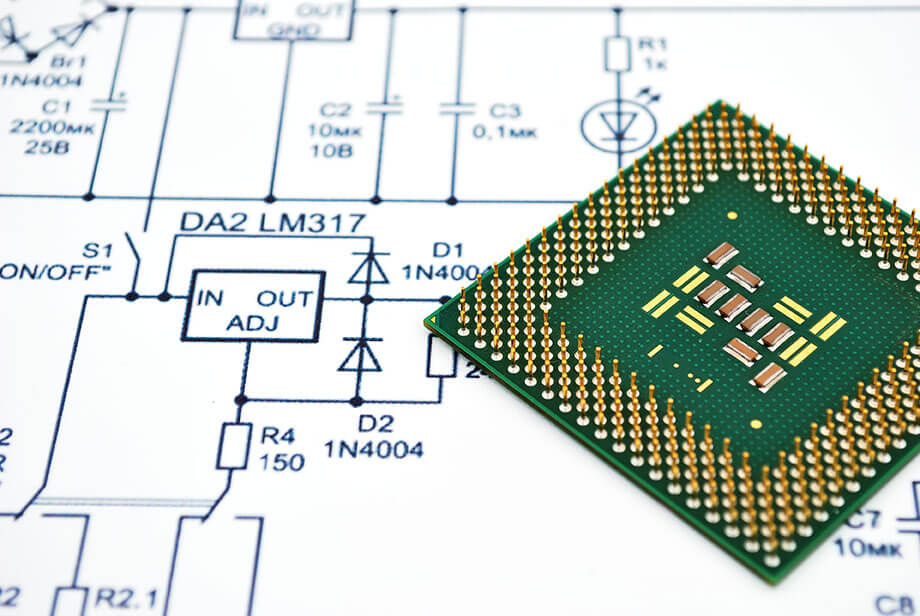
Design process for designing a circuit board
There are a number of key elements to consider when designing a reliable prototype circuit board, from power supply to component selection. First, a thorough schematic design should be constructed along with a series of test points. This schematic should also take into account any compliance standards, safety measures, and environmental regulations that must be met. The schematic should be tested to verify its accuracy before any components are soldered onto the board. Once the schematic is done, the layout of the board should be laid out, with any necessary components and connectors being allocated suitable space on the board. By ensuring that each of these steps is completed properly, designers can guarantee that the prototype circuit board is reliable.
How to select a reliable component for the board
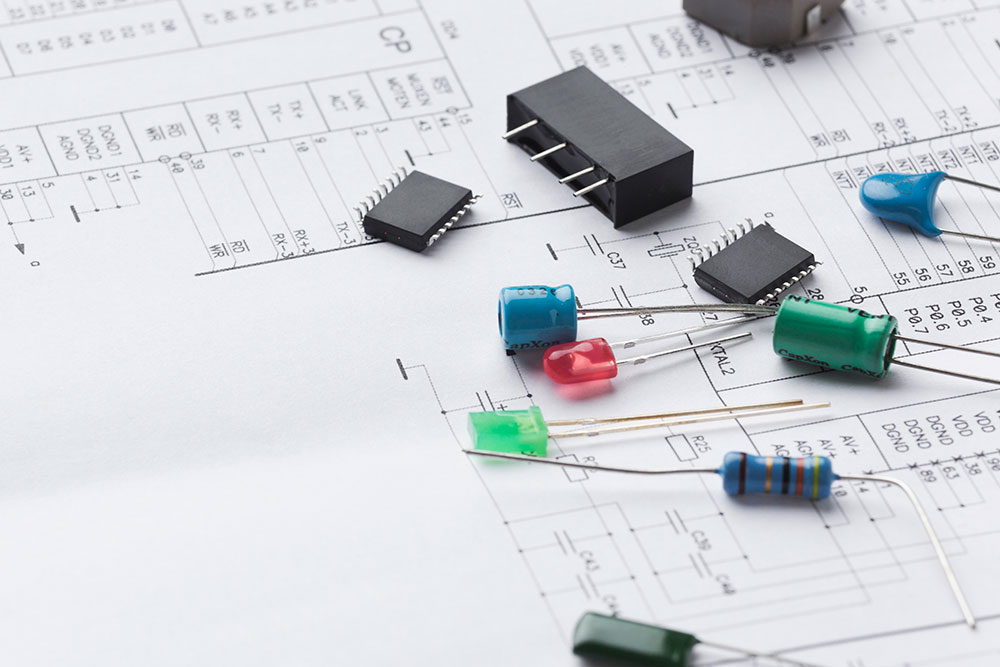
Selecting the right components for a reliable prototype circuit board is essential if the finished product is going to be successful. It’s important to identify components with a low failure rate and that are compatible with the design. It’s also important to ensure that there is sufficient thermal design for components on the board that require cooling, and that the noise levels are within acceptable levels. Careful research should be conducted when selecting components and the board should be tested to make sure it meets the applicable standards before the components are soldered on. By selecting reliable components and verifying their compatibility, designers can ensure the success of their circuit boards.
Fabrication
Once the design and planning stage is complete, the next step in the process is fabrication. This involves transferring the component layout onto the board, soldering the components onto the board, and verifying the connections. The fabrication process must be carried out according to the design and planning documents to ensure that the circuit board is reliable and the connections are secure. Care should be taken to ensure any necessary safety precautions and compliance standards are adhered to, and that all components are placed in the correct positions on the board. Once all the components have been soldered on the board, the fabrication process is complete.
Testing
After the fabrication process is complete, the next step is testing the prototype circuit board. This involves verifying the functionality of each component and connection, as well as making sure that the circuit board meets applicable standards. When conducting tests, it is important to create a detailed test report that can be used to track any possible defects. This report should cover all the components and any necessary measurements taken. Tests should also be conducted to check for any possible noise levels or electromagnetic interference that could be caused by the board. By thoroughly testing the prototype circuit board, designers can ensure that it is reliable and functions as expected.
Troubleshooting
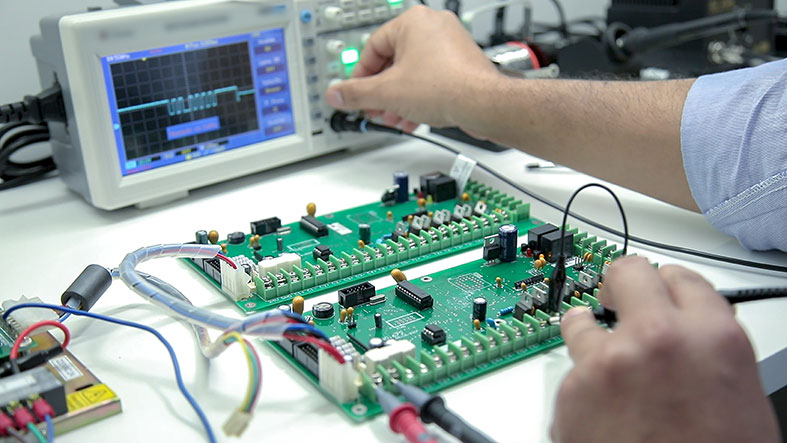
Despite the best efforts of the designers and testers, it is often the case that some issues will arise with a prototype circuit board. This is where troubleshooting comes in. When troubleshooting, the designer should first review the testing report and look for any discrepancies in the results or measured values. If any irregularities are discovered, further tests should be conducted to verify the findings. Additionally, the designer should be aware of any potential problems with the power supply, as this can often be the cause of any issues. An oscilloscope can be very useful for testing and debugging any complex circuits, and it’s a good idea to have one on hand in case of any issues. By carefully troubleshooting the prototype circuit board, designers can quickly identify and fix any issues that may arise.
Conclusion
A successful prototype circuit board design requires meticulous planning and attention to detail. The design process should involve careful consideration of factors such as complexity, component selection, layout, and cost. After the design is complete, a thorough fabrication process should be followed to solder the components in place, ensuring that all safety standards are met. Finally, a rigorous testing process should be conducted in order to verify the functionality of the board. Taking the time to thoroughly consider each of these steps will help to ensure that the end product is reliable and functions as expected.
